Showing posts with label scrapbooking. Show all posts

Wednesday, March 11, 2015

My Mind's Eye "Hello World" | Louise Beerens

Over the last couple of days I have been sharing some layouts using the new collections that have arrived in the shop and today I have some shares using My Mind's Eye "Hello World".  Playful, vibrant, and comprised of primary colors with pop, this collection will give you wanderlust for sure!  Yes, it's a travel-themed collection, but I can see so many other uses for it too.  


My first layout is 12"x12" and I cut along the decorative feature on one of the papers to create my lower border.This is a great way to stretch your papers as I still have most of that sheet left to play with on another layout.  I cut apart another sheet to create my heart and geotag embellishments.  All I added was some stitching, twine and ink splats.


My next page is 8.5"x 11" and I used my die-cutting machine to create my large title.  You could easily recreate this by hand, or by adding letter stickers on top of the paper.  I just really wanted a big bold title.....I kept the cut letters in case I want to use them somewhere else.  This is a great way to use both the positive and negatives from your die-cutting.  


I added some sequins and wood veneers from my stash as well as twine, machine sttiching and ink splats.


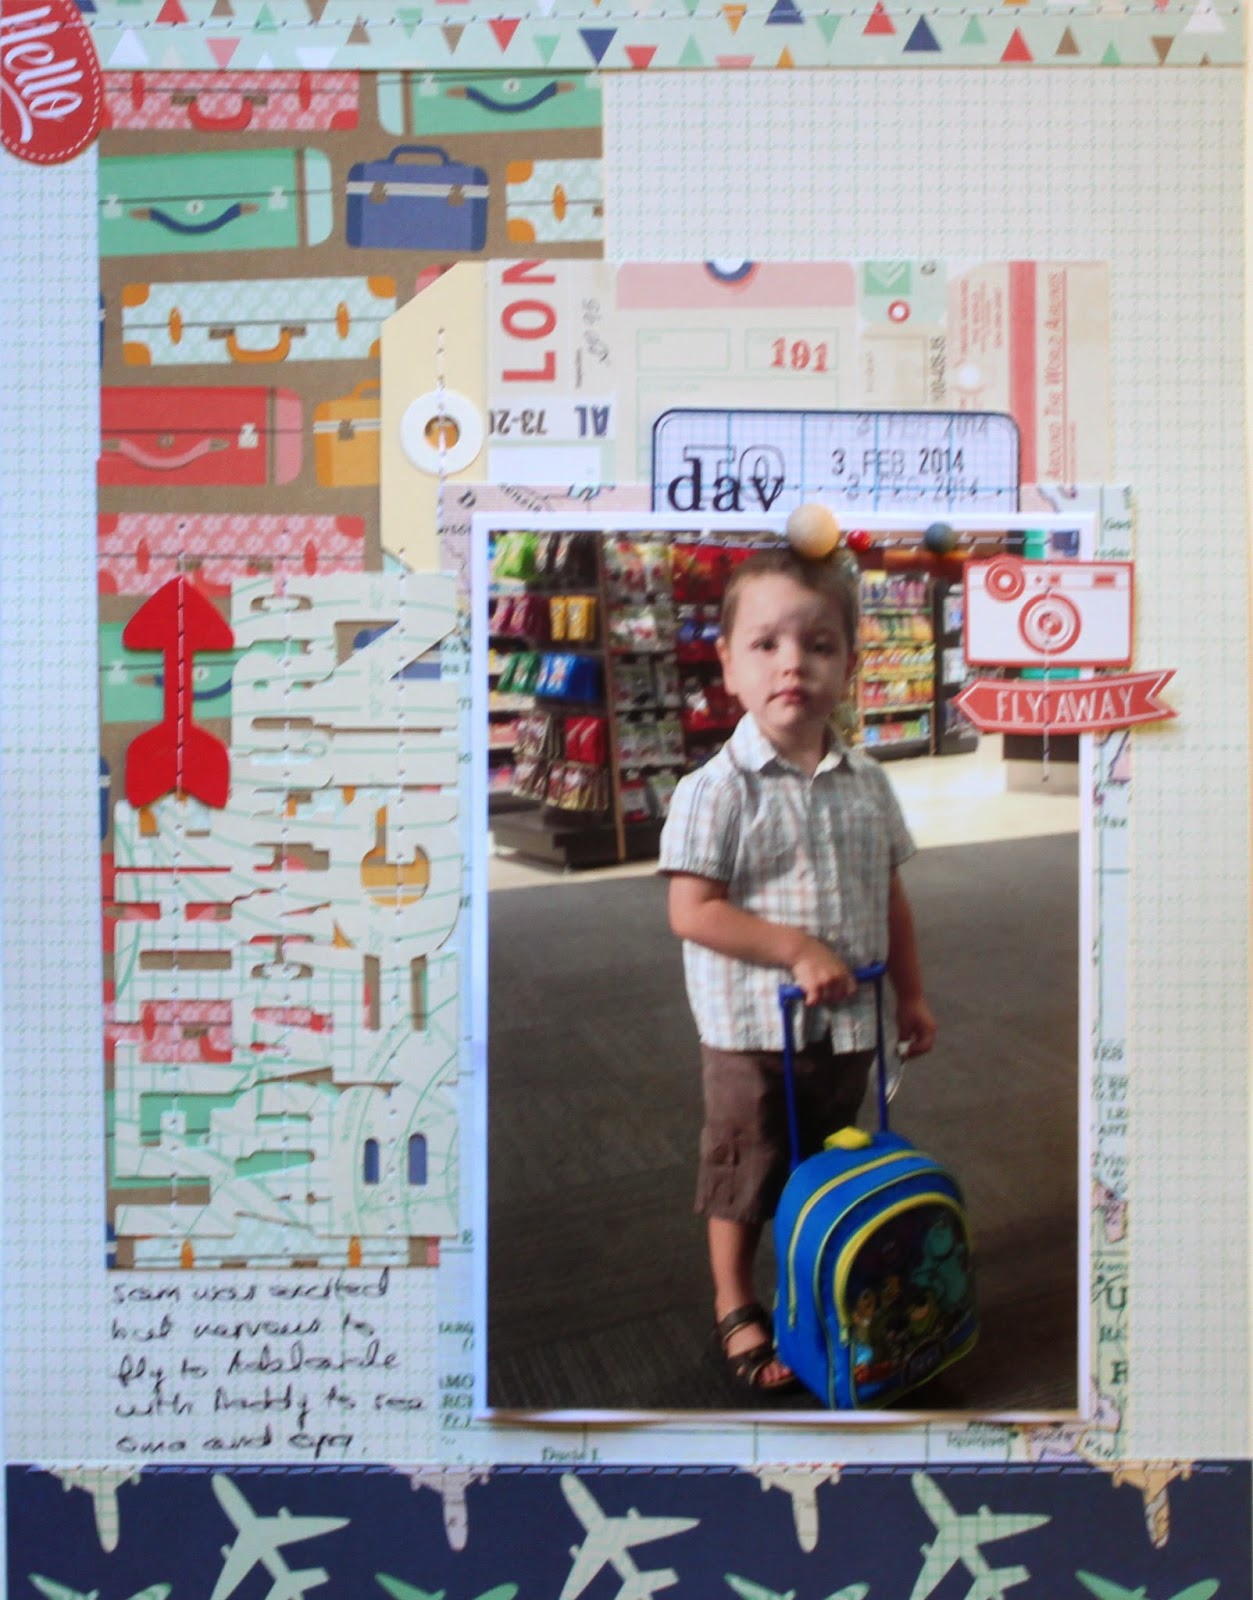
Next up is another 8.5" x 11" page and this time I used the grid paper as my background.  I cut-apart another patterned paper to create the red embellishments.  I used my die-cutting machine to create my title, but again, letter stickers could be used instead.  I added a tag, a label and some wooden dots as well as my signature-stitching.


I hope you've enjoyed my layout shares over the last few days- hurry in to Tomorrow's Memories to grab these new collections before they're all gone!

Tuesday, March 10, 2015

Echo Park "Jack & Jill Boy Collection" | Louise Beerens


I shared a couple of layouts yesterday using some new papers from Echo Park and today I have some more shares using another new collection from EP called "Jack & Jill Boy Collection".  This new collection is built tough with a vintage nod at boys throughout time. With elements ranging from vintage vehicles and airplanes, to clever typography, this collection is just the right combination for any man in your life. 

JJB80016_Jack_And_Jill_Boy_Kit_Cover


First up I have a 12"x12" page and I used the woodgrain sheet as my background- different for me, but a fun change.  I cut used elements from the cut-apart sheet to create a sub-title and a journalling spot.  Some buttons from my stash were the only embellishments required.


Up next is an 8.5"x11" layout and once again I used patterned papers for my background but layered them on some grey cardstock to create a border.  I used elements from the cut-apart sheet to create a photo-mat, a title, a tag and the plane embellishement and I fussy-cut a camera to add to the cluster at the bottom of the page. Some twine and ink splats were the final touches.


Obviously I am always on the lookout for boy-themed collections, and this one is a great one- not just for boys, but for all the men in your life!

Monday, March 9, 2015

Echo Park "Sunny Days Ahead" | Louise Beerens

There are some really fun new collections in the shop right now and I got to play with "Sunny Days Ahead" from Echo Park.  Turn any rainy day into a memorable moment with this bright and happy collection.


My first layout is an 8.5" x 11" and if you are familiar with my scrapping, you will know I love this smaller format.  I applied some gesso through a cloud stencil to slightly obscure the text paper and outlined the clouds with a black Sharpie.    The tag and alphas were from my stash and I fussy-cut the gumboot from one of the elements on the cut-apart paper sheet.


My next layout is a 12"x12" page and I love this one.  I cut the clouds from one of the paper sheets and punched triangles to create the banners.  I used one of the journalling cards from the cut-apart sheet to create both my title and a place for journalling.  Some enamel dots from my stash added the finishing touches rather than my usual ink splats.


Although I have created rain-themed layouts, the bright patterns could easily be used for any theme- think birthdays, parties or just summer fun!


Monday, March 2, 2015

On Stage Collection by Kaisercraft...

Happy Monday everyone, hope you are enjoying this public holiday.  Its Tracey here to share some fun layouts with you using the wonderful "On Stage collection" by Kaisercraft.


My son dreams of being a famous actor one day, its all he ever talks about.  He has been writing a script for ever and over the holidays finally got together with friends to start filming.  These papers were the perfect thing use to document this part of my son.


  My next layout that I want to share with you is probably my favourite layout for awhile. When I saw the record paper I just had to have it.  It was the perfect thing to record my summer playlist.

To get the photos for my layout I just Googled the song/album that I wanted, went to images, then screen shot the picture.  I then did a bit of editing on my phone using PicTapGo app.  Then I just uploaded the photos and printed them off.
I also added some stamping and a cute banner... I couldn't help myself.


Thanks for dropping by and checking out these layouts.  The papers are available in store but I wouldn't wait too long!!

Have a great week.
Love me :-)

Friday, January 30, 2015

Add a little stamping to your layouts...

Hi everyone, it's Tracey here to share a layout with you and hopefully inspire you to get your stamps out hiding and onto your layouts.

I am well know for buying stamps and not using them.  They decorate my craft room shelves nicely but really I need to get them out and use them.  I know stamping can be a bit daunting but it doesn't need to be.  I decided to challenge myself and pick some stamps that I thought would fit with the theme of my photo.  I picked ones that were not big in size, but that added a little something extra to my layout.  Think of it as just adding another layer.  Another thing that might help is to choose an ink colour that is more of a neutral tone so that it doesn't necessarily stand out and therefore there is less pressure on "getting it right".  It also makes the stamping another element on the layout rather than a focal point.


I chose a yellow because there were hints of it in my photo, it added a little extra colour to my layout and it blended into the layout rather than standing out.  This also meant that if my stamping wasn't perfect it wasn't going to be obvious, so taking away that pressure I mentioned earlier.


I then laid out my pieces roughly putting things where I thought they should go.  I played around with the layout a bit and then once I was satisfied I added my stamping. I then went and secured all the pieces down. 


I finished off my layout with some stitching.


Thanks for stopping by and I hope I have given you some tips that will encourage you to 
add stamping to your layouts.
  
Happy stamping
Tracey - :-)